Guides
Part of Judging a book nook kit by fit, upkeep and the supplied LED
Fitting a book nook kit workspace into one shared room
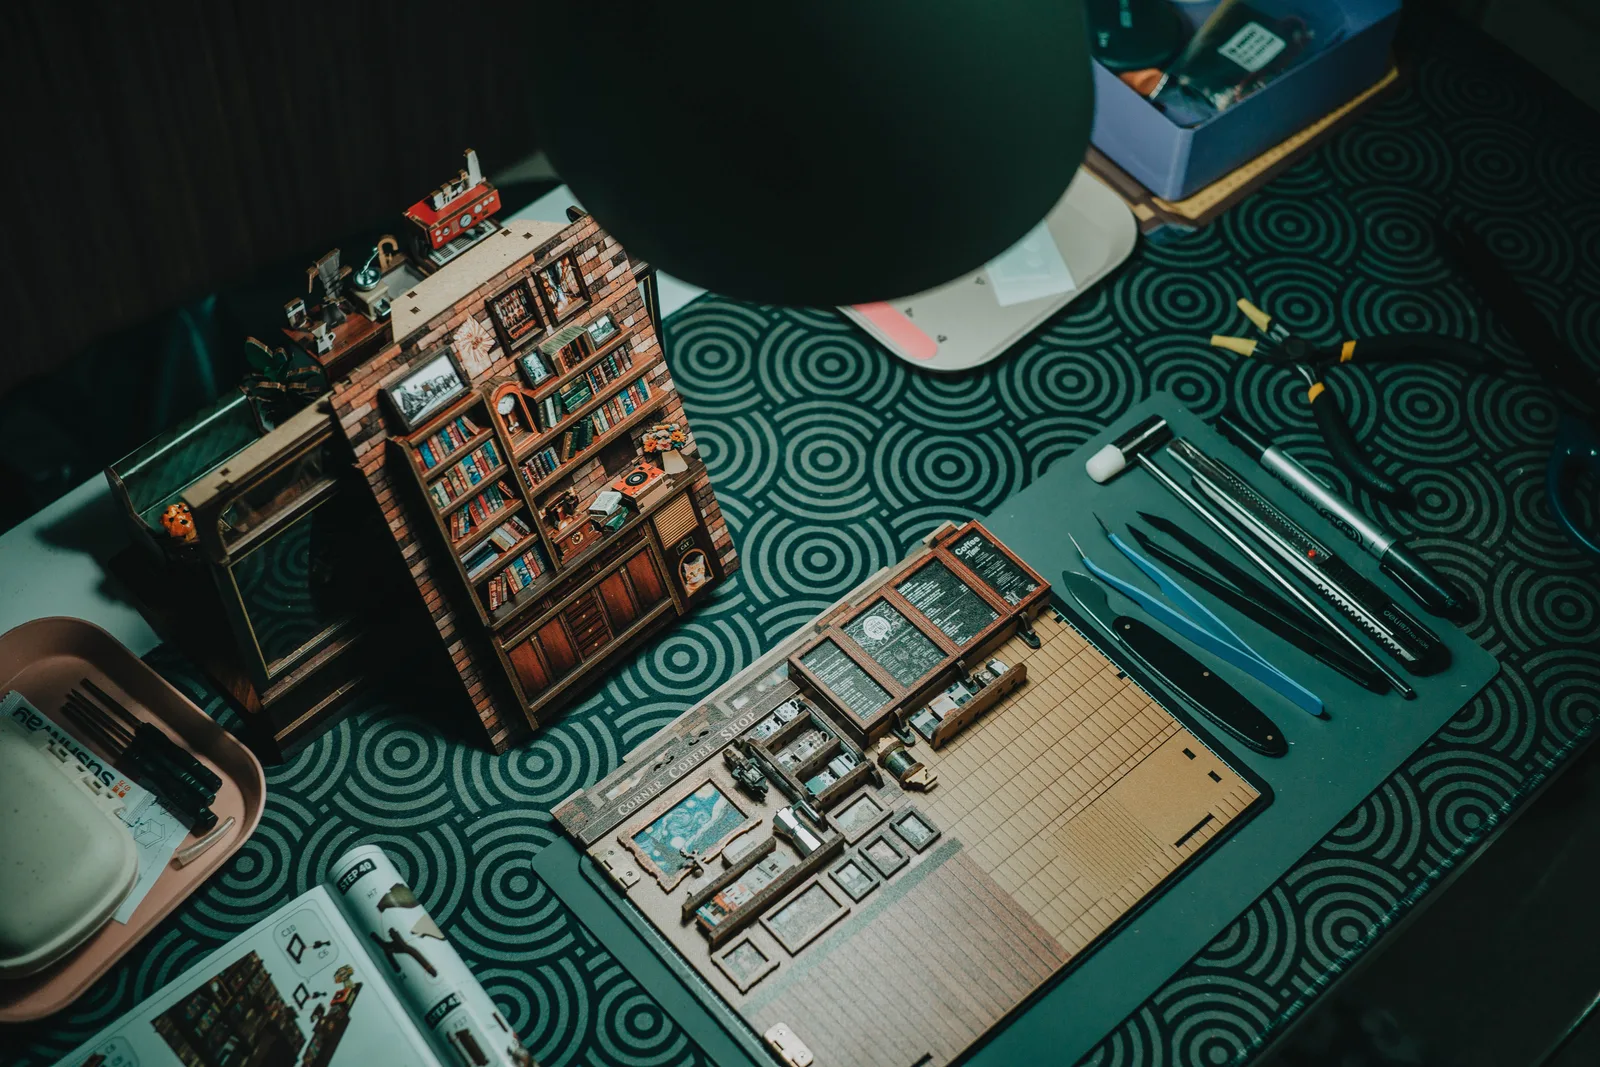
Small-space setup for working with book nook kits: setting up for a kit build in one room, where the sanding dust and spray go, how to light a bench without glare.
Book nook kits setup in one shared room is a dust, smell and light problem before it is a modeling problem. This is how to place the bench, deal with the sanding dust and the spray, light the work without glare, and pack the whole thing away between sessions.
What to take away
- Book nook kits generate two things a shared room dislikessanding dust and aerosol overspray.
- Sanding and cutting plastic parts produces harmful dust, and burning or overheating plastic produces toxic gas.
- Ambient light plus a small task light beats one bright lamp, and it cuts the glare that hides detail.
- Lay the parts out once, in order, and the whole build gets faster and quieter.
- Two trays and one box that closes are the whole storage plan; the room goes back to being a room.
Two problems in a shared room
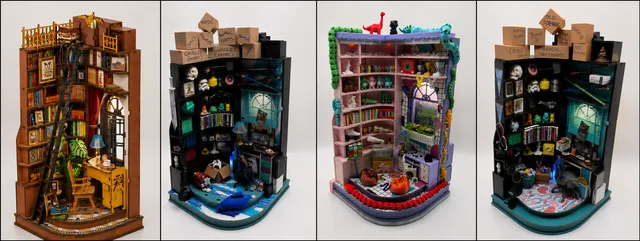
Book nook kits arrive as laser-cut sheets of MDF or plywood with a bag of small parts, and they need trimming, sanding and often filling. That produces fine dust close to your face, and MDF is the worst of the sheet materials. Then the finishing stage tempts you toward an aerosol, indoors, in winter.
Carnegie Mellon's safety in the arts guidance is direct about both. Fixatives, paints and adhesive sprays, and the mists from airbrushes and spray guns, are potentially dangerous if inhaled. Use them in well ventilated areas, or in designated and certified spray booths and fume hoods.
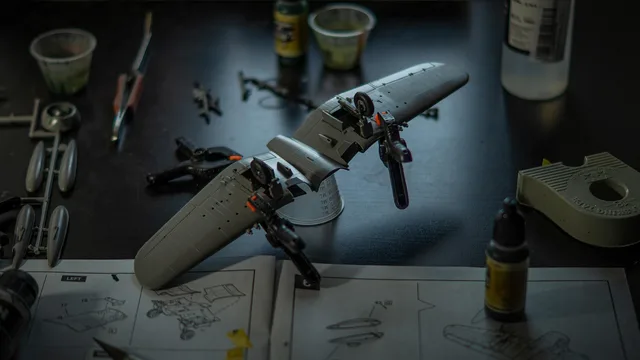
On plastics, most hazards in making plastics come from monomers, solvents, fillers, catalysts, and hardeners. Overheating or burning plastic produces toxic gases, and polishing, sanding, or cutting it produces harmful dusts.
Epoxy resins used in laminating, casting, glues, and lacquer coatings are skin irritants, sensitizers, and suspected cancer-causing agents, so avoid skin contact and inhalation.
Three rules for one room
- Sand wet or over a damp cloth
- Spray outdoors or not at all
- Wear gloves with epoxy, don't wash off
Dust, where it goes
Two habits do most of the work: sand with the part damp and hold it over a bin, so the dust lands in the bin instead of the air, and take whole sheets of parts outside or into a garage. A small HEPA vacuum at the bench, run over the tray and the floor after a sanding session, keeps the fine fraction out of carpet and upholstery, and a fitted respirator rated for fine dust covers what the vacuum misses.
MDF is the material to respect here. Book nook kits are mostly laser-cut sheet wood, and MDF sands into a flour-fine powder that hangs in the air of a room you share; acrylic windows and plastic accessories add their own dust when they are cut or sanded. Trim the parts before you sand, not after, so you make one mess instead of two.
Lighting the bench without glare
Kit work rewards seeing the join line, which is a lighting problem before it is an eyesight problem. The University of Michigan's design guideline for interior lighting states the principle plainly: minimum ambient lighting levels should be coupled with task lighting as needed.
Low-contrast vs high-contrast bench lighting
Low contrast
- Setup
- Ceiling light + small lamp
- Light ratio
- Within 10 to 1
- Result
- Joins visible
- Paint stage
- No missed joins
High contrast
- Setup
- One bright lamp, dark room
- Light ratio
- Exceeds 10 to 1
- Result
- Squint and headache
- Paint stage
- Joins appear after paint
It promotes under-shelf and table task lights on benches, desks and other work surfaces, to reduce the need for artificial ambient light. It also sets a contrast rule: the ratio of light levels between adjacent spaces should not exceed 10 to 1.
Applied to a shared room: a modest ceiling light plus one small lamp close to the work, rather than one bright lamp in a dark room. The high-contrast version is what causes the squint, the headache, and the joins you did not see until the paint went on.
Many book nook kits come with a small LED strip, a battery box or USB lead, and a switch, and that light has to be judged in the room it will live in. Test it at the shelf height before the scene is closed up: the same warm strip at the back of a corridor or a tiny room reads very differently under a bright ceiling light than in a dim corner.
A layout that survives being packed away
- One tray for the build, one for wet work, and never the same tray for both.
- Sprues and part sheets in a shallow box lid, numbered in the order the plan uses them.
- A magnet or a lidded tin for small metal parts, which otherwise vanish.
- Glue, blade and sanding sticks in a jar to the side of your dominant hand.
- The kit's LED strip, battery box and spare wire in a labeled bag, so they never tangle with the parts.
- Everything else off the surface, in one box that closes.
Lay out and inventory the parts before session one. Kits are numbered and the numbers only help if you have found them once. The trays sit against the front edge of the table so nothing has to be reached over, the lamp goes on the side your hand does not cross, and the bin lives on the floor under the hand that sands.
The other people in the room
A shared room is a negotiation, and the parts worth settling before the first cut are the surface, the hours and the smell. Agree which table is yours and whether it has to be clear for meals; a kit build that cannot be cleared away in a couple of minutes will end up banned from it.
Solvent and aerosol smell travels further through a house than dust does, so every step with glue, paint or spray belongs near an open window or outdoors, and never on a table someone eats at. Cutting and sanding are the noisy steps: keep them to daylight hours or a time that suits the household, keep a bag for offcuts, and wipe the table at the end of a session. Parts left drying on a shared surface will be moved.
Between sessions
Photograph where you got to before packing down, especially any subassembly that is drying. The parts on the tray will be in a different order next time and the picture answers the question faster than the plan does. The general small-room setup is covered in working in a small space, and the surface underneath it in judging a work surface.