Guides
Part of Judging a book nook kit by fit, upkeep and the supplied LED
How to photograph a kit build: parts, progress shots and a gray card
A practical guide to photographing a kit build as a sequence: parts laid out, consistent progress frames, a gray card for color, and one finished piece shot.
What to take away
- A kit build is a sequence, so photograph the sequence, not only the result.
- A tripod is not optional for this. Everything else is negotiable.
- A gray card in one frame fixes color for the whole set, which matters when you show what you changed.
- Keep the camera position identical between progress shots and the set becomes a before-and-after.
Photograph the sequence, not the object
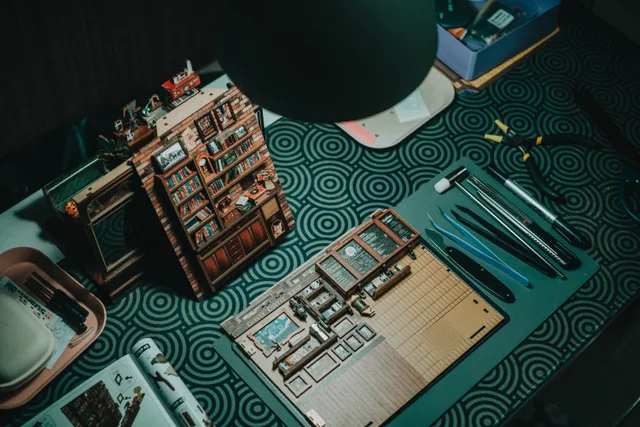
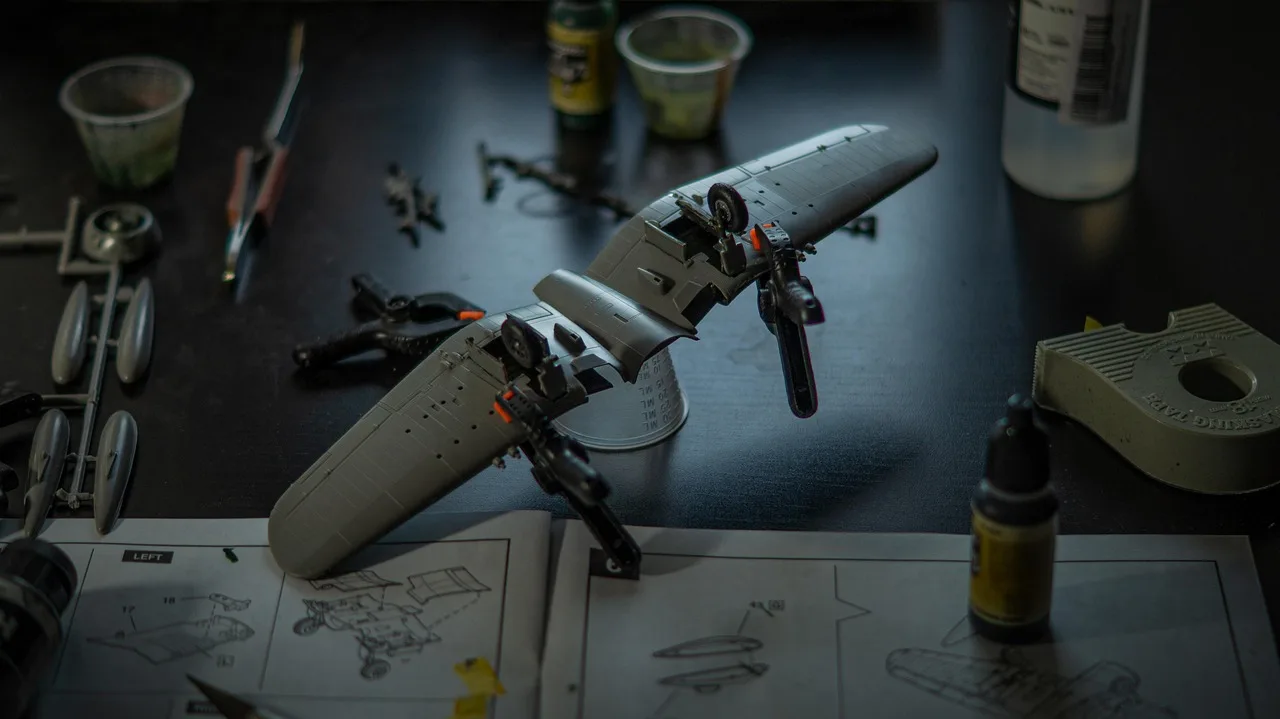
The useful record of a kit build is what changed at each stage: parts as they came out of the box, the dry fit, the first paint, the wiring test, the final assembly. That set answers the questions people actually ask, which are about what the kit contained and what you did to it.
Shoot the parts laid out and numbered before anything is cut free. If a part is missing, that photograph is your evidence, and it is worth more than a memory two weeks later.
The one non-negotiable
Brown University Library's guide to photographing objects is blunt about it: any tripod is better than no tripod, and you must use one. It does not matter how much light you have or how light your camera is.
It gives three more rules worth taking whole. Aperture controls depth of field: a larger opening such as f3.5 puts less of the object in focus, a smaller one such as f22 more, and usually you want as much of the object sharp as possible.
Shoot raw rather than JPEG, because JPEG compression degrades quality and raw gives far more flexibility for adjusting exposure and white balance afterwards. And get exposure close in camera: too much light blows highlights permanently, and too little leaves shadows without detail and an image full of noise.
A card in the frame
Color drifts across a build set. The lights change, the daylight changes, and the paint you mixed on Tuesday photographs differently on Sunday. The Brown guide recommends using a gray card for exposure or white balance and including a gray or color card in one shot for sampling afterwards.
Columbia University Libraries' page on the use of targets goes further. A Kodak Q-13 or Q-14 gray scale is used both as a reference in the capture and as a way to evaluate tone reproduction. It gives aimpoint values for a monitor at gamma 2.2, including 242 for the lightest patch and 123 for the mid patch.
The three aimpoints can be used for a three point neutralization, removing color bias from the white point, mid point and black point. It also gives a small practical rule: set the eyedropper sample size to 5 by 5 pixels for more accurate measurement.
You do not need a calibrated workflow to build a book nook. You do need one frame with a card in it if you want the set to look like one build rather than five.
Keeping progress shots comparable
- Mark the tripod feet with tape so the camera returns to the same place.
- Lock the focal length. Zooming between shots breaks the comparison.
- Use manual exposure and write the settings down.
- Shoot the same three angles every session, even when little changed.
- Keep the background the same piece of card throughout.
Presenting the finished build
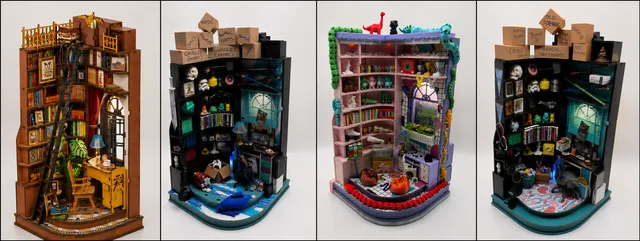
Show the box, the parts, one or two progress frames, and the finished piece on its shelf. That order tells the story a kit build has.
For a scratch build with no sequence to show, the finished-object approach is covered in photographing and presenting a nook. The bench where all this happens is in setting up for a kit build.