Guides
Part of How to plan book nook projects from start to finish, in plain terms
How to photograph and present book nook projects: the parts worth your time
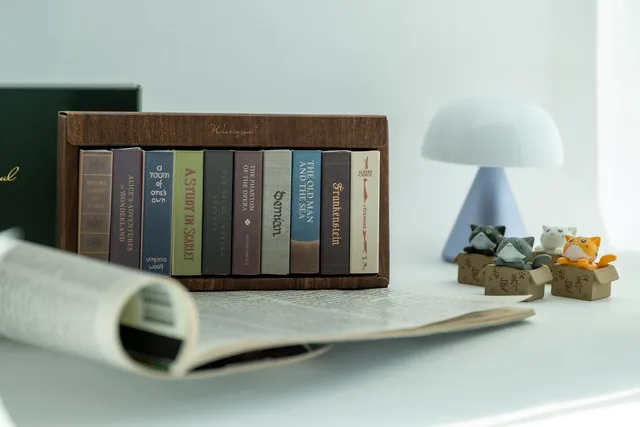
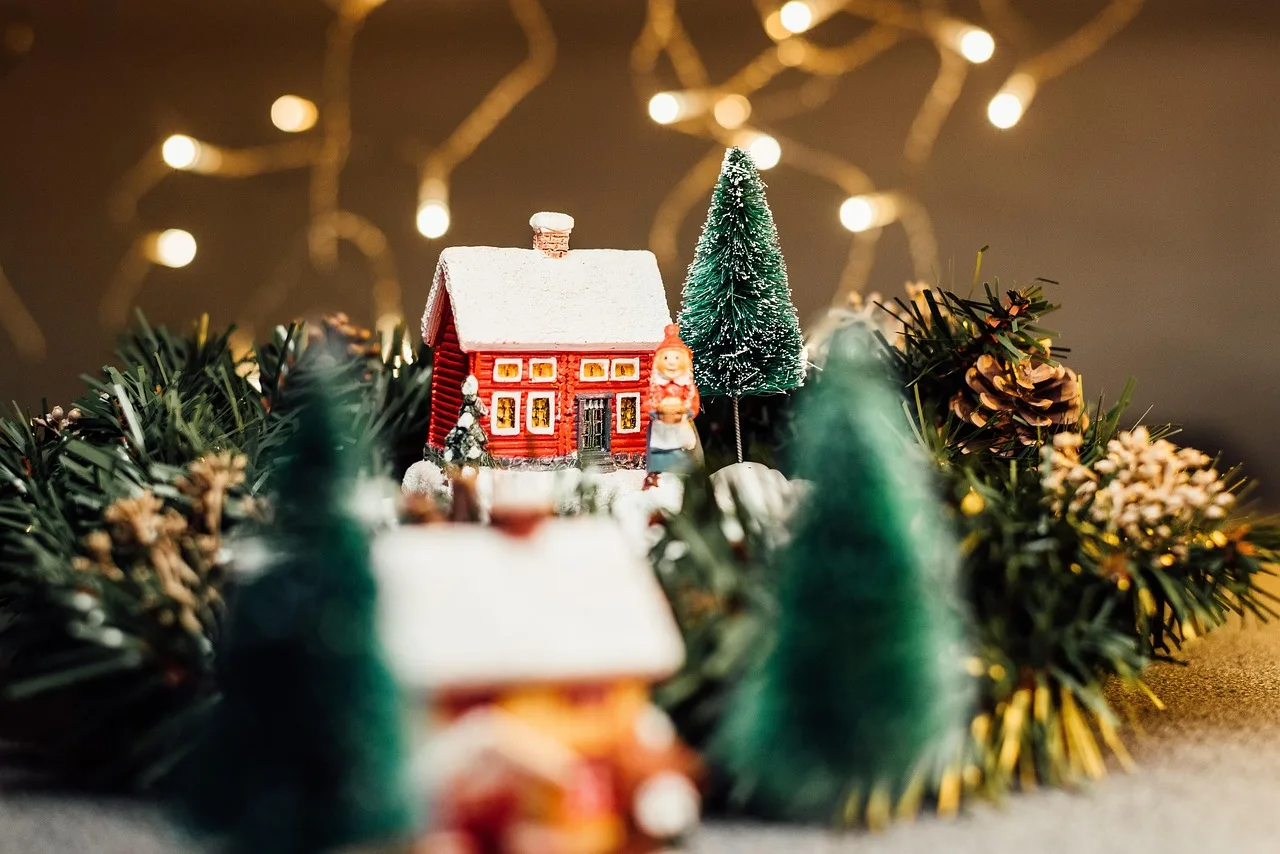
Photographing a lit interior at one-twelfth scale: cleaning first, lighting inside the box, fixing the color cast from LEDs, and settings that matter this close.
What to take away
- Clean and inspect before the camera comes out. A lens finds dust that your eye has stopped seeing.
- Light the inside of the box, not the front of it, or the scene reads as a flat panel.
- Color casts are usually the light source, not the camera or the paint.
- At this size the whole battle is depth of field, and the answer is a tripod plus a small aperture.
Clean and inspect before the camera
Photography is an inspection you cannot argue with. Before shooting, go over the piece the way a collection would be checked on arrival. The University of Illinois preservation program's guide to material inspection and cleaning calls simple inspection an effective way to spot pest exposure, mold and physical damage. It also documents condition before problems spread.
For a book nook, blow out the corners. Lift the dust with a soft brush before compressed air, not after. Check that nothing has come unglued in storage. Look for the fiber from a paper towel that is now welded to a wet varnish. Every one of those shows at close range.
Light the interior, not the front
The mistake in almost every first photograph is a lamp pointed at the opening. It flattens the scene, kills the built-in light, and puts a bright rectangle where the depth should be.
Instead, let the nook's own lighting carry the scene and add a small amount of fill from the side, angled in rather than straight on. If the interior is too dim, lengthen the exposure rather than adding a front light. A long exposure on a tripod is what makes the built-in glow look the way it does in person.
Why the color comes out wrong
LED strips are the usual culprit, and the reason is in how they make white. The Department of Energy's LED basics explains that LEDs are not inherently white light sources. They emit nearly monochromatic light, and white comes from phosphor conversion, from mixing several monochromatic LEDs, or from a hybrid of the two.
The same page notes that useful life is normally described as the operating hours until output falls to seventy percent of the initial level, and that good-quality white LED products are expected to last 30,000 to 50,000 hours.
Practically: shoot in raw if you can, set a custom white balance off a white card lit by the same strip, and do not trust the automatic setting when the only light in the frame is a two dollar strip. If a color simply will not resolve, replace the strip rather than fight it in editing.
Settings that matter at this size
- Tripod, always. Handheld at a small aperture is not possible at these light levels.
- Small aperture for depth, then a longer exposure to compensate.
- Self timer or a remote release, because pressing the button moves the camera.
- Focus on the object about a third into the scene, not on the front edge.
- Shoot at eye level for the scene, which means shelf height for the viewer.
- Take one frame with the room lights on for reference, then work in the dark.
Presenting the finished piece
Photograph it on the shelf it was built for, with the flanking books in place. That context is the whole point of the format. Keep one plain record shot as well, front on and evenly lit, as the version you send to someone who asks what it is.
Where the piece will live, and how bright it should be there, is part of planning the nook from the start, and the small tools that keep it clean are in the beginner tool kit.