Features
Part of Miniature room ideas: the ones with staying power, 2027 edition
Projects that teach one skill through miniature room ideas: the short version
Six small room-box projects, each built to practice a single skill: backdrops, hidden lighting, repetition, texture, awkward geometry and controlled weathering.
What to take away
- Six projects, each teaching one skillbackdrop composition, hidden light, finish order, shelf fit, weathering, and human scale.
- Every project is a single box, sized to a real shelf and finished in two to four evenings.
- Name the skill before the first cut. Stop when the skill is proven, not when the box is pretty.
- Hide every light source, then check the box from where a viewer stands.
The six projects and the one skill each teaches
Small on purpose. One wall, one floor, one light, one finish. Take the skill you are weakest at and build only that one. A materials list helps before you cut anything, and choosing materials for miniature building covers boards, glues and finishes that behave at this size.
The table names the project, the skill, the scale, the core materials, the time and the first three moves.
| Project | Skill it teaches | Scale | Core materials | Time | First three moves |
|---|---|---|---|---|---|
| One-wall backdrop box | Composition and sight lines | 1:12 | 5 mm foam board, mat board, acrylic sky wash | 2 evenings | Cut one wall and two returns; paint a graded sky; place one object on a third line |
| Hidden bulb corner | Light placement and glare control | 1:12 | 3V battery LED, 2 mm brass tube, card shade | 2 to 3 evenings | Cut the wire channel first; mount the emitter out of sight; test from the viewing spot |
| Finish swatch board | Order of finish: stain, sealer, paint | 1:12 | pine strip, oil stain, shellac, acrylic | 1 evening | Cut six strips; stain three and seal; compare the grain under your project light |
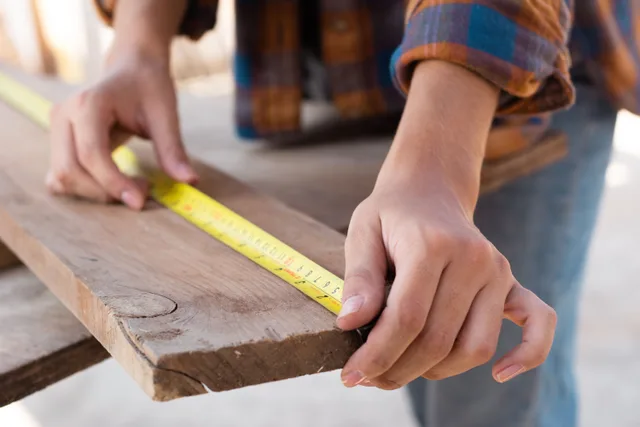
| Shelf-fit nook | Fitting to a real bookcase | 1:12 or 1:24 | 6 mm basswood, plywood back, LED strip | 3 to 4 evenings | Measure the shelf depth; leave 10 mm clearance; dry-fit before gluing |
| Weathered floor slab | Controlled weathering | 1:12 | balsa sheet, acrylic washes, chalk pastel | 2 evenings | Seal the base; lay a thin wash; dry-brush the traffic path only |
| Doorway figure vignette | Human scale and what a scene claims | 1:12 | wax or polymer clay, fine cotton, mat board | 3 to 4 evenings | Build the doorway to 6.7 inches; keep the figure half out of view; write the label first |
Six projects, six skills
Project
- Window box
- Backdrops, false depth
- Hanging bulb
- Wiring, brightness restraint
- Fifty-item shelves
- Repetition, batch finishing
- Cobbled ground
- Texture media, dry brushing
- Attic corner
- Awkward angles, compound joints
- Rained-on doorway
- Gloss control, weathering
Skill taught
- Window box
- Hanging bulb
- Fifty-item shelves
- Cobbled ground
- Attic corner
- Rained-on doorway
Fit, scale and the shelf you actually own
At 1:12, one real inch equals one foot. A six foot ceiling sits six inches above the floor, and a doorway reaches about 6.7 inches. At 1:24 those figures halve.
Judge your bench before you judge your build. Work surfaces for miniature building covers what a cut needs from a table that does not slide.
Most US bookcases are 11 to 12 inches deep, per Wikipedia's entry on bookcases. Measure yours. A nine inch nook leaves room behind it for a battery pack and a cable run.
Example: the hidden bulb corner, step by step
This is the box people rebuild most, usually because the light went in last. Build it in this order.
Hidden bulb corner, step by step
- Cut the back wall and two returns from 5 mm foam board, then dry-fit without glue.
- Drill a 2 mm channel through the base and up the inside corner for the wire.
- Wire a 3V battery LED with a switch, and keep the soldered joint behind the wall.
- Slide a card shade over the emitter so no bare LED faces the viewer.
- Stand where a viewer stands, check the shadow line, and only then glue the assembly.
Run each step once on scrap. The practice weekend sets that up as a single weekend of throwaway cuts.
Four lighting failures and one fix each
The Department of Energy describes its lighting quality work as covering four areas. Each one maps to a mistake that shows up in room boxes.
- Color and spectrum2700K suits wood and paper, while a 5000K lamp turns pine gray.
- Flickercheap drivers band on camera, so record a phone video before you mount the light.
- Glareno bare emitter in the sight line, so add a lip or a shade.
- Luminance perceptiona box lit for daylight blinds in a dark room, so dim it with a resistor or a diffuser.
Four lighting failure modes
- Coloremitter decides warm or gray wood
- Flickershows on camera, not to eye
- Glarehide any bare emitter
- Luminancebright daylight looks blinding in dark
What museum dioramas settled early
The National Park Service page on the Mesa Verde museum dioramas lists the build: beeswax, balsam resin and cotton figures, fiber optic light on the hearths, and an opening in 1939.
The park retired the groups after the Native Interpretation Working Group told it they reduce Ancestral Pueblo people to a static exhibit. They are covered now and preserved in place, with new exhibits in front.
If your scene holds a person, who appears and how is a decision with consequences.
Recording a finished box
Label the scale, the skill and the date on the underside. A box you cannot identify in two years teaches nothing.
Then photograph it the way a viewer meets it. photograph and present book nook projects covers framing, lighting and background choices for a finished piece.
![At left, 2 women (Katherine L. Howes[?] and Mrs. Franklin A.[?] Howe, Jr.) stand in front of Sir Nevile Wilkinson's "Titania's Palace." Both women face toward Sir Wilkinson at right. Sir Wilkinson stands in profile, facing left. He leans forward and slightly onto the table supporting the miniature p. Miniature room ideas: the ones with staying power, 2027 edition](/covers/miniature-room-ideas-in-2027-10-to-consider-640.webp?v=13966214)