Reviews
Tiny scene case studies: the results and the conditions behind them
Three tiny scene case studies show what each build achieved and the bench, scale, asset pipeline and lighting conditions that produced the result.
What to take away
- Three conditions decide most tiny scene resultsa surface checked with a straightedge and a corner jig, an adhesive whose open time matches the clamp window, and logged light, temperature and humidity. Skill ranks below all three.
- Those conditions map to three purchases3 mm basswood sheet from Midwest Products, a slow-setting PVA such as Aleene's Tacky Glue, and a bench hygrometer such as the ThermoPro TP50.
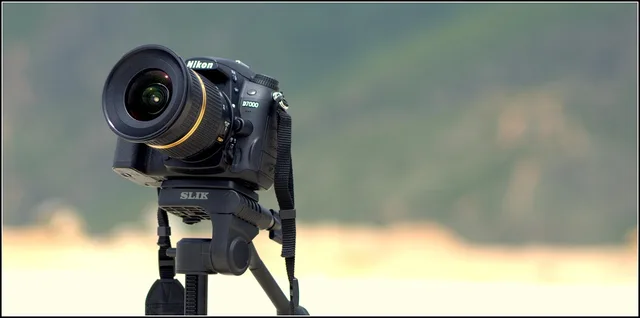
- Photograph the bench at the start of every session with the camera in a taped position, or the set drifts and you cannot compare months.
- Log temperature and relative humidity once per session. Dry indoor air in a Canadian winter moves wood and card more than most builders expect.
- Write every dimension in one unit with one prefix. NIST publishes the recognized prefix set at metric prefixes.
Two of the three cases below are Canadian builds: the 1:24 stall from Edmonton and the 1:35 interior from Calgary. The bench, adhesive and logging conditions work the same way in the US, and the code and safety notes are marked for the country they cover.
Case study 1: the corner jig that held a 1:12 book nook square
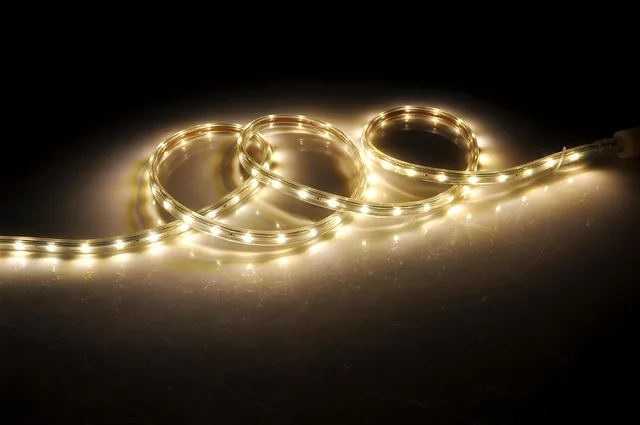
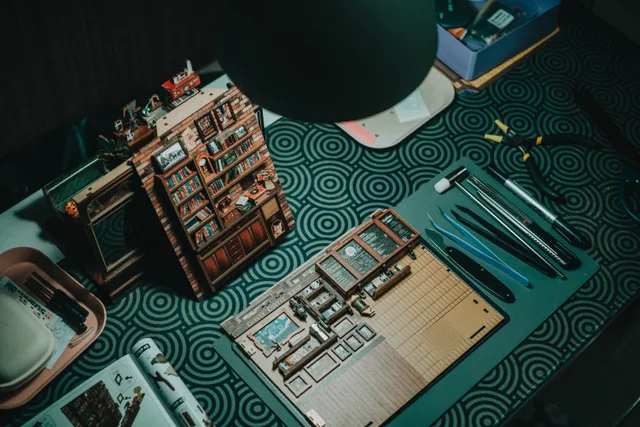
The build is a 1:12 recessed street scene, roughly 240 mm wide and 300 mm tall, set into a shelf gap between two hardbacks. Walls are 3 mm basswood sheet, the pavement is card, and the only light is a 12 V LED strip behind a diffuser.
The wood arrives as 1/8 inch sheet, close to 3 mm. Hobby suppliers such as Midwest Products sell a 24-inch length for typically $6 to $10.
The result: after eleven months on the shelf the walls measured square within half a millimeter at the corners. The condition behind that result was a corner jig. Every wall was glued against the same square block, and the block was checked with a straightedge before each session.
Builders buy a 6-inch engineer's square for that job. iGaging's typically costs $20 to $30, and Starrett's C11H-6-4R runs above $100. The check takes ten seconds and catches a dropped block before it skews a wall.
The second condition was light. The strip runs at 4000 K and about 300 lux at the pavement. That is bright enough to read the scene and dim enough that the card has not yellowed at the edges. Neutral white keeps paper and card near the color they were cut.
Canada: electrical work on the shelf lighting was signed off by a licensed electrician against the Canadian Electrical Code, published by CSA Group as CSA C22.1. In Ontario the authority having jurisdiction is the Electrical Safety Authority, which is the only place to confirm what your installation needs.
In the US, the model code is NFPA 70, and the local inspection authority confirms what applies.
Case study 2: the four-minute clamp window that failed a 1:24 diorama
A 1:24 market stall, about 150 mm across, built in Edmonton in February. The result was a failure worth writing down: the awning sagged within a week and two stall posts pulled away from the base.
Adhesive open time vs clamp window
Thin CA (Insta-Cure)
- Open time
- seconds
- Clamp window
- 4 min too long
- Cost
- accelerator extra
- Result at 1:24
- joint failed
Titebond II Premium
- Open time
- about 5 min
- Clamp window
- 5 min
- Cost
- $5-8 / 8 oz
- Result at 1:24
- holds
Aleene's Tacky Glue
- Open time
- several minutes
- Clamp window
- repositionable
- Cost
- $3-5 / 4 oz
- Result at 1:24
- holds
The condition behind it was solvent choice. The builder used a fast-evaporating solvent cement on a joint that needed working time. Thin cyanoacrylate, the class Bob Smith Industries sells as Insta-Cure, grabs in seconds, and BSI's Insta-Set accelerator shortens that further.
The clamp ran four minutes and the builder walked away. The joint looked closed. It was not.
The fix was a slower-setting adhesive and a longer clamp window, and the awning was re-cut rather than bent back.
Titebond II Premium Wood Glue lists an assembly time of about five minutes and carries ANSI Type II water resistance. An 8 oz bottle typically costs $5 to $8, and a five-minute epoxy such as Devcon's gives a similar working window for about the same money.
Aleene's Tacky Glue is a thicker PVA that stays repositionable for several minutes. It dries clear with a little flex, and a 4 oz bottle typically costs $3 to $5.
The lesson generalizes: match the open time of the adhesive to the number of joints you can actually hold at once. If you can hold two, glue two.
Solvent, adhesive and dust handling is not something this article can instruct on. Read the safety data sheet for whatever you use. In Canada, follow WHMIS and your provincial workplace safety authority. In the US, OSHA's Hazard Communication Standard covers the same ground.
Case study 3: the hygrometer log that explained a 1:35 seam in a Canadian winter
A 1:35 workshop interior, card and basswood, built in October and photographed monthly through to March. The result was a 0.4 mm gap that opened at one wall seam by January and closed again by April.
One seam through a Calgary winter
- Octoberbuild completed
- January0.4 mm gap opens
- Aprilgap closes again
The condition behind it was indoor air. Heated Calgary homes typically sit near 15 to 30 percent relative humidity in winter and 40 to 60 percent in summer. Card and thin wood move with that swing.
The builder had logged a hygrometer reading at the start of each session, so the gap was explained rather than mysterious. The ThermoPro TP50 is a common bench unit at about $10 to $15, and it stores daily highs and lows.
The same logging habit is standard in collections care. The Getty Conservation Institute's work on environmental data analysis and visualization treats temperature and relative humidity records as the base layer for understanding how a collection behaves over time. A bench hygrometer and one line per session is the low-effort version.
What the three results have in common
| Build | Scale | Result | Condition that decided it |
|---|---|---|---|
| Book nook | 1:12 | Stayed square for 11 months | Corner jig, a 6-inch engineer's square, checked every session |
| Market stall | 1:24 | Awning sagged within a week | Thin CA open time shorter than the four-minute clamp window |
| Workshop interior | 1:35 | 0.4 mm seam opened, then closed | Winter indoor humidity of 15 to 30 percent, logged with a hygrometer |
None of the three results came from skill. Each came from a decision made before the first cut, and each was visible in the notes afterwards.
The bench conditions, in order
- Check the surface with a straightedge and keep a sacrificial top on it. A 1/4-inch MDF sheet over a Homasote board, or an Olfa self-healing mat, typically costs $20 to $70 depending on size.
- Tape the camera position and both light positions to the floor, not the table. Painter's tape leaves less residue on a finished floor.
- Choose one neutral background, such as a mid-gray card, and keep a second sheet for working.
- Write one unit and one prefix on the front of the notebook before the first measurement.
- Read the hygrometer at the start of the session and write the number down.
The criteria for judging the surface itself are in work surfaces and how to judge one. The gear that sits on it is in what you need to document a build.
Bench surfaces, compared
Four surfaces cover nearly every miniature bench. The choice comes down to flatness, whether pins hold, and how the blade feels.
Flatness
- 1/4-inch MDF over Homasote board
- Flat when the base is supported
- Olfa self-healing mat
- Flat until it warps near heat
- 3/4-inch birch plywood
- Flat after a straightedge check
- Tempered glass over cork
- The flattest, and the least moved by humidity
Pins
- 1/4-inch MDF over Homasote board
- Homasote takes pins, MDF does not
- Olfa self-healing mat
- Pins do not hold
- 3/4-inch birch plywood
- Takes pins in the face grain
- Tempered glass over cork
- None
Blade feel
- 1/4-inch MDF over Homasote board
- Dulls blades fast
- Olfa self-healing mat
- The best of the four
- 3/4-inch birch plywood
- Mid, splits less than MDF
- Tempered glass over cork
- Hardest on blades
What sets the cost
- 1/4-inch MDF over Homasote board
- Sheet area, and whether you buy a full sheet or a cut panel
- Olfa self-healing mat
- Mat size, since mats are sold by dimensions
- 3/4-inch birch plywood
- Plywood grade and core
- Tempered glass over cork
- Glass thickness, edge polish and cut size
For most benches the working answer is two surfaces, not one. Use 1/4-inch MDF over Homasote for pinned assemblies and an Olfa mat for knife work. If you keep only one, keep the MDF and Homasote sandwich, and add the mat when you start cutting.
Where the first mistakes show up
Most beginner failures repeat across all three scales, and they cluster in the first hour. The mistakes beginners make at home covers the recurring ones, and the buying order that avoids half of them is in what to buy first.
Common questions
Does the camera need to be permanently set up?
No, but the marks do. Once the floor positions are taped, setup takes about a minute and the photographs stay comparable across months.
Is a light tent worth it for build documentation?
For product shots, sometimes. For a case study it hides the room conditions that explain the result, which is the part worth recording.
How often should I log temperature and humidity?
One reading at the start of each session is enough. The value is in the pattern across a year, not in the precision of any single number. A $10 hygrometer and a notebook beat a lab-grade meter used twice.
What if the bench has to be packed away between sessions?
Mark the floor rather than the table, and use a board that returns to the same spot. The camera and light marks move with the room, not the furniture.