Guides
Part of Miniature kit makers companies: fit, instructions and battery safety
4 things worth knowing about miniature kit makers
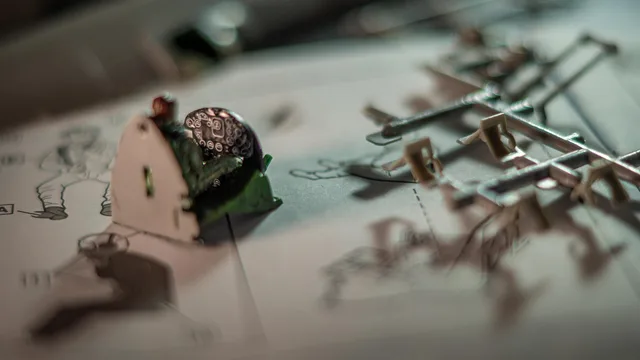
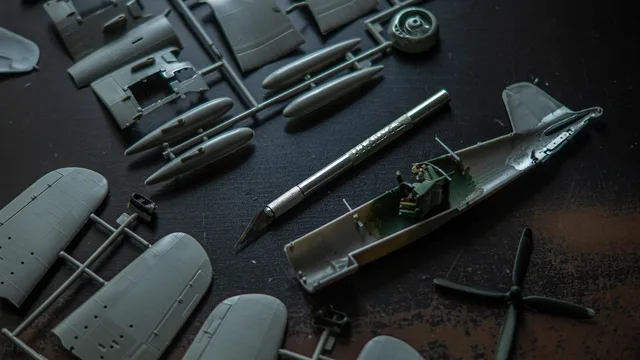
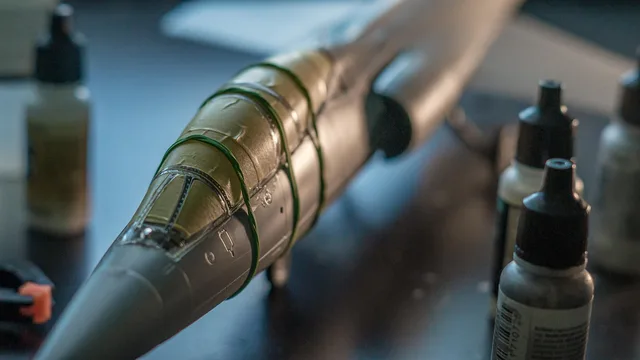
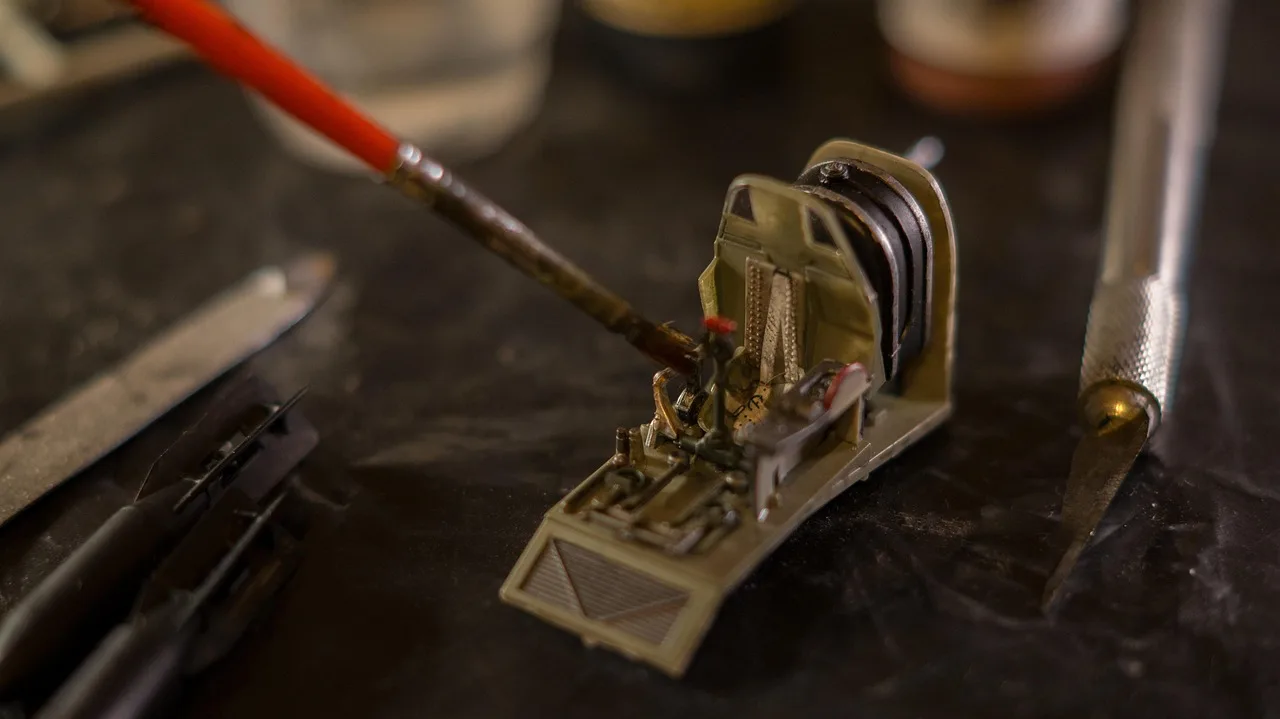
Photographing a kit you made, for the people who will buy it: product photography for a kit run, showing what is in the box, close-up depth of field.
What to take away
- Miniature kit makers sell the finished scene first, but a buyer needs three pictures: what arrives, what it becomes, and how big it is.
- Depth of field collapses as you move in, which is the entire technical problem of close-up work for kit makers.
- Keep a written capture recipe so the tenth kit photographs like the first.
- Show what the kit does not include as clearly as what it does.
1. Kit makers sell the finished scene first
Miniature kit makers lead their listings with a lit, furnished room. Rolife's Sunshine Town book nook and Cutebee's Magic House dollhouse both show the finished scene first.
That finished-scene photograph sells the idea. It also causes most of the disappointment, because it shows paint, weathering, lighting and props the buyer is not receiving.
So publish three: the contents laid out exactly as they arrive, the finished build, and a shot showing the piece in place with something everyday for scale.
If the finished build in the photograph used paint and a light that are not in the box, say so in the caption rather than in small print.
Tonecheer's Beyond Library kit, typically $60 to $100, includes LED lighting, so its finished-scene photo is honest about the light. Hands Craft's Lisa's Tailor kit, typically $20 to $40, usually shows the furnished room but not the bare wooden parts.
2. Why kit makers' close-up parts shots go soft
Photographing parts means working close, and closeness costs sharpness. Wisconsin 4-H's exhibitor tips by photo subject states the mechanism directly.
Close-ups face two problems: camera movement and shallow depth of field. Depth of field decreases as you move closer to the subject. At only inches away, sharpness may span just an inch or two.
Its remedy is equally direct: use a tripod and stop down to between f/8 and f/16 for more depth. It defines depth of field as the distance range between the nearest and farthest objects that appear acceptably sharp.
The same source notes it is determined by the lens opening, the focal length and the distance from lens to subject. It also lists the accessories that get a camera closer, including close-up lenses that screw onto the front of the lens, extension tubes and macro lenses.
For a parts-laid-out shot, that means shooting from above, further back than feels natural, with the aperture closed down and the camera on a tripod.
Greenleaf Dollhouses and Real Good Toys show parts laid out in their catalogs. The Orchid kit arrives as die-cut plywood sheets. The Vermont Farmhouse Jr., typically $180 to $250, ships as pre-cut MDF. Those flat-lay shots suffer the same depth of field collapse.
3. The capture recipe kit makers write down
Consistency across a product line is worth more than any single good photograph. Digitization practice formalizes this, and the National Archives' technical guidelines for digitizing cultural heritage materials show what a controlled setup looks like.
You are not going to hold a product photo to a preservation standard. What transfers is the discipline. Write down the lens, the distance, the aperture, the light positions and the background, and use that recipe for every product in the run.
Here is a usable starting point. For a parts flat lay, use a 50mm to 100mm macro lens on a tripod. Shoot straight down from 18 to 24 inches. Set the aperture to f/11, the ISO to 100 or 200, and trigger the shutter with a two-second timer or a cable release.
For a finished-scene shot, use the same lens at f/5.6 to f/8 so the background falls away gently. Keep the ISO at 100 and set white balance by hand, around 5500K under daylight-balanced LEDs.
Light the flat lay from two sides. Place a softbox at 45 degrees to the left and another at 45 degrees to the right, both about three feet away at the same height. Add a matte card behind the camera as fill if the shadows go black.
One worked example of a written recipe:
The capture recipe
- Lens
- 60mm macro on a crop-sensor body. Camera 20 inches above the kit sheet.
- Aperture
- f/11. ISO: 200. Shutter: two-second timer.
- Lights
- two softboxes at 45 degrees, three feet away, equal power.
- Background
- matte gray card, larger than the plywood sheet.
- White balance
- manual, 5500K. File format: RAW.
4. What kit makers should include in the shot
A listing needs six photographs, shot in this order.
- Include every part the buyer receives, uncut and in the bag it ships in.
- Show the instruction sheet, so people can see it exists.
- Include one honest photograph of the raw, unpainted build.
- Show the finished build, painted and lit as the kit allows.
- One shot with an everyday object for scale, not a ruler.
- Show the back of the piece, showing how the power exits.
The parts shot, the finished build and the scale shot are the three a buyer needs most. The raw build is the picture most sellers omit and the one buyers most want.
What the whole production job involves is set out in what it takes to make a kit, and the equivalent photography for a build you did not design is in photographing a kit build.