Reviews
Part of Diorama lighting how it works: lumens, lux and color temperature
4 points on diorama lighting gear that matter
How to judge lighting parts for a diorama: what the LED specifications actually promise, how to read the standards behind them, and the wiring rules that matter.
What to take away
- Buy three parts first: a 12 V constant-voltage strip, a regulated plug-in supply and an inline PWM dimmer.That set lights a first nook and dims without extra hardware.
- Judge a claim by the method behind it.A strip citing LM-79 for output and TM-30 for color has been measured to a published procedure. One citing nothing has not.
- Dim on the DC side unless your driver says otherwise.PWM suits constant-voltage strips, while a wall dimmer needs a driver marked dimmable.
- The lead from the wall is the risky part, not the diodes.Anchor it inside the box and never staple it.
- These are part categories, not lab-tested picks.We have not bought competing strips or dimmers and measured them.
The short answer for a first build
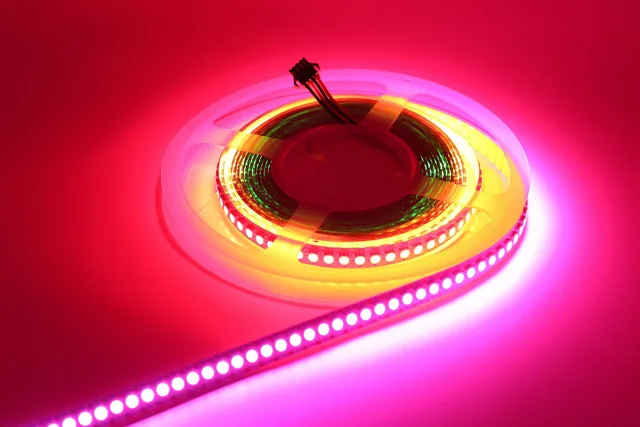
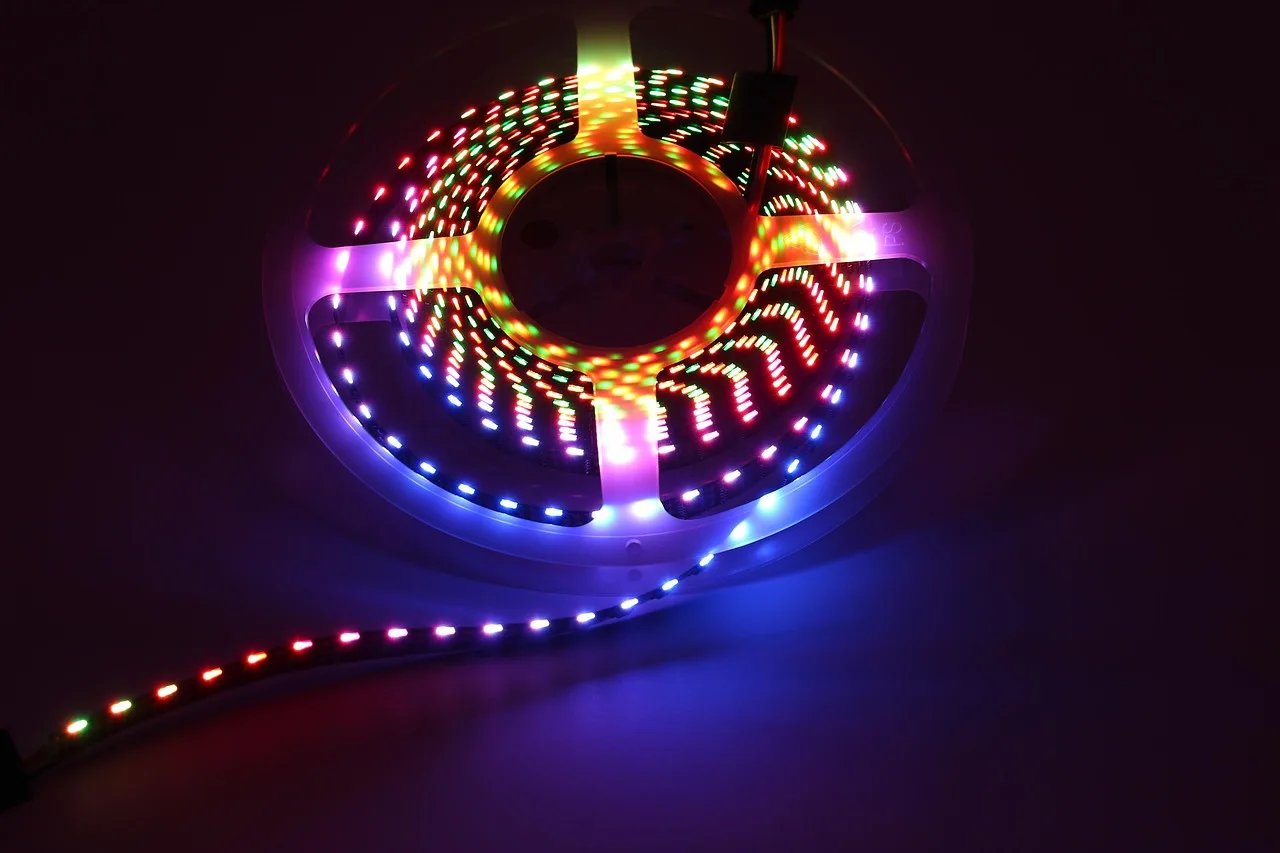
For a shelf nook or a small room box, three parts cover it. A 12 V constant-voltage strip in warm white, 2700 K to 3000 K. A regulated plug-in supply rated at least 1.5 times the strip's draw. A PWM dimmer module rated above the same current.
A kit often bundles the same parts for less, and judging a book nook kit by fit and upkeep sets out what the box should contain.
Buy this first
- Strip, 12 V
- Warm white, 2700 K to 3000 K
- Strip, 24 V
- Same color, half the current
- Supply
- Regulated plug-in, 1.5 times the load
- Dimmer
- Inline PWM module on the DC side
Trade-off
- Strip, 12 V
- Voltage drop grows with run length, so keep runs short
- Strip, 24 V
- Fewer small plug-in supplies, and few kits use it
- Supply
- Unregulated adapters flicker and run hot
- Dimmer
- Cheap boards buzz or band on camera
Typical US retail for those parts runs about $15 to $35 bought separately, and Canadian buyers can face GST/HST plus duty on US orders.
What to check before you pay
A seller may quote lumens, color temperature and wattage without saying how any of it was measured. The Department of Energy's metrics and test methods page lists the standards a claim should rest on and names color rendition, flicker and glare as the metrics that decide how a scene reads.
Four documents carry the weight. LM-79, from 2008, covers optical and electrical measurement of a finished product. LM-80, also 2008, covers flux and color maintenance of the LED packages inside it. TM-21, from 2011, projects long-term flux maintenance. TM-30, from 2015, evaluates color rendition.
Lighting standards timeline
- 2008LM-79 optical and electrical measurement
- 2008LM-80 flux and color maintenance
- 2011TM-21 long-term flux projection
- 2015TM-30 color rendition evaluation
A lumen figure with no method behind it is a hope. Color rendition deserves the closest look, since mixed paints can pass by eye and go flat on camera.
Lumens, lux and color temperature are separate quantities, and decoding diorama lighting walks through each one before you compare spec sheets.
Matching a supply, a driver and a dimmer
Two dimming methods exist and they do not interchange. PWM dimming holds the supply voltage steady and pulses the current fast enough for the eye to average it. Constant-current dimming reduces the current the driver feeds the LEDs.
For a constant-voltage strip, an inline PWM module is the practical choice. Match the voltage to the strip and the current rating to the load. Boards that switch in the low kilohertz are the safe picks, since slow ones band on a phone screen.
A wall dimmer only works with a driver marked dimmable by the same method, so a first build can skip it. The lead still has to reach a socket, and that is the part worth planning.
Flicker is easy to miss by eye and hard to miss on camera, and the guide to photographing and presenting book nook projects shows how much a camera gives away.
A 24 V strip halves the current at the same wattage. That pays off on long hidden runs and barely matters in a three-inch scene.
Wiring and anchoring the lead
Low voltage inside the scene is forgiving. The lead from the wall is not, and NFPA 70, the National Electrical Code, is the standard a permanent installation should meet.
OSHA on flexible cords: because they are exposed, flexible and unsecured, they are more susceptible to damage than fixed wiring, from door edges, staples, abrasion or age.
Flexible cords are finely stranded. A steady pull can loosen strands under a terminal screw until they touch the next conductor, which is what a shelf tug does.
Four habits keep a lead safe.
- Solder the lead to the strip pads, then heat-shrink the joint.
- Strain-relieve it an inch behind the joint with a clip or a zip tie.
- Pass it through a grommet-lined hole, never over a raw edge.
- Never staple a cord to wood or trap it under a rug.
The strain relief rule comes from OSHA's page on flexible cords, which describes this failure in detail. The tools are few, and the first eight tools worth buying for miniature building covers them.
Example: a three-inch nook
A nook 3 inches deep and 8 inches tall, lit from the top and viewed head on.
| Element | Choice | Why |
|---|---|---|
| Emitter | 12 V 2700 K COB strip, cut to 4 in | Hides under the top lip |
| Load | About 1 W, about 0.08 A | Roughly 10 W per meter at 12 V |
| Supply | Regulated 12 V plug-in, 1 A | Several times the load, so it runs cool |
| Dimmer | PWM module rated 2 A | Dimming matters more than output here |
| Anchor | Zip tie on the back wall | A pull lands on the tie, not the joint |
Nothing there needs a bigger supply. If the same emitter later runs along a long shelf, move to 24 V rather than more current.